

Understanding Soil and Composting: Techniques for Indoors and Outdoors
“The whole problem of health in soil, plant, animal, and man [is] one great subject.”
Sir Albert Howard, Soil and Health
We all want to eat, and perhaps also grow, delicious and nourishing food. But in order for our food to be nutritious, it needs to grow in a healthy, living soil. Soil has of course been entirely neglected in our pursuit of high yields and quick returns. We have tilled and dried out and compacted and flushed out hundreds of thousands of hectares of land (holding soils that took thousands of years to establish) since the beginning of agriculture. Through our ignorance, we have entirely missed the fact that soil is not simply an inert growing medium but rather a highly complex, highly diverse super-organism composed of self-balancing networks of mineral and organic matter working together to maintain the cycle of birth, life, death and decay. This cycle is what creates fertility and allows for the natural abundance we see around us and enjoy everyday.
In this post we are going to cover some basics of soil composition and soil life, then go into how to build soil fertility at home including mulching, indoor composting to manage kitchen waste, outdoor composting to manage kitchen and farm waste, and cold composting for breeding soil microbiology. If you’re short on time, feel free to scroll down to the section you’re interested in.
Soil basics
The mineral component, the inorganic matter, is one part of this complex ecosystem. Rock material is broken down into simpler elements by wind, rain, hot, cold, chemicals and biological activity e.g. fungi and plant root acids.
Then we have the organic matter, made up of plant material, animal bodies big and small, and the hugely diverse and fascinating world of soil microorganisms, fungi, and roots.
Along with these two components, two other crucial pieces of the soil puzzle are air and water. The pockets between individual particles in the soil contain either air or water. The number and size of these pore spaces govern the movement of air and water through the soil. Soil organisms and plant roots occupy and function in these spaces.
There are many different types of soil, with different properties, some are better suited to plants and animals and some are harder for them to thrive in. Before we learn how to get there, we have to understand what we’re aiming for.
How do you identify good soil?
Colour:
Different soils have varying quantities of organic matter and different types of minerals of different sizes - the colour and texture reflect these differences.
On the whole, good soil is rich in organic matter and therefore dark brown.

Texture and Porosity:
Soil is classified based on the particle size of the mineral – clay particles are so tiny we can’t see them, silt particles are a little bigger, and sand particles are the largest. Clay particles are important as they are small enough to bind with nutrients. This is not the case for silt and sand, these however are essential for creating the right soil structure and providing minerals.
The best soil for plants has an equal amount of clay, silt and sand (silty clay loam). Equal parts means the soil has just the right size and number of gaps - to hold just the right amount of water. When you squeeze a handful of soil you want it to hold its shape but fall apart easily. We also want the texture to be crumbly, with many small aggregates of soil indicating high populations of bacteria and fungi whose slime and hyphae bind the soil together.

The presence of soil life:
When we observe our soil it should be alive with earthworms as well as a diverse mix of other tiny organisms.
Earthworms are one of the best indicators of a well balanced soil and signify the soil’s biological health. Their presence shows there are bacteria and other microfauna and flora in the soil as they make up a part of the earthworm’s diet.
-THE JAR TEST-
To know the different amounts of different sizes of particles in your soil, you can do a jar test.
For this simply fill a glass jar two thirds full with soil. Then, fill it to the top with water.
Once filled, close the lid and shake the jar. You can shake it in intervals for the whole day so that even the smallest and hardest clumps break down. Let it stand overnight and look at the layers that have formed the next day.

Determine percentages simply by measuring the depths with a scale, dividing by the total and multiplying by 100.
e.g. 3.5 cm/ 7 cm * 100 = 50%

Using this soil pyramid we can determine our sample is a Sandy Loam.
Soil Fertility and the Soil Food Web
One teaspoon of soil contains a billion bacteria, a couple kilometres (!) of fungal hyphae/mycelium, several thousand protozoa and a few dozen nematodes. These, along with plants, make up the soil food web.
Soil organisms all get their energy from carbon which comes from material supplied by plants, waste produced by other organisms, or the bodies of other creatures. Soil microbes feed on the chemicals plants secrete through their roots (exudates). Individual plants can control the numbers and different kinds of fungi and bacteria attracted to the rhizosphere (the root zone) by the exudates they produce. Plants in turn absorb wastes and nutrients secreted by the soil biota.
We aren’t feeding the plants; the soil micro flora and fauna are doing that for us.
Soil life ensures nutrients are cycled and water is held where it’s needed.

Just like our bodies, the soil food web needs all nutrients to survive. We tend only to hear about NPK (Nitrogen, Phosphorous, Potassium) but by focusing on those all others are neglected. Macronutrients are vital to our (and the soil and plants) survival, but deficiencies in micronutrients and trace elements quickly result in degeneration and illness.
- WHAT HAPPENS TO SOIL WHEN YOU ADD CHEMICAL FERTILISERS? -
Chemical fertilisers kill off entire portions of the soil web. A gap in the soil food web will break down the system and make it stop functioning properly.
Most fertilisers are salts. Think of what happens if you put salt on a slug or earthworm, salts suck the water out of the bodies of bacteria, fungi, protozoa and nematodes too.
When the microbiology is killed off and is no longer bringing in and cycling nutrients, one has to keep adding fertiliser from external sources to sustain plant life.
The soil structure deteriorates, watering becomes problematic, pathogens and pests establish themselves and gardening becomes more work than it needs to be.
Pesticides, fungicides, and herbicides cause air and water pollution along with innumerous diseases that affect both the farmer and the consumer.
Any chain is only as strong as its weakest link; healthy soil is diverse and can control troublemakers through its own internal mechanisms.
(Read Teaming with Microbes: The Organic Gardener's Guide to the Soil Food Web, by Jeff Lowenfels and Wayne Lewis for more.)
Our aim is then to build and create a well-structured soil that can support soil life with the right quantities and balance of nutrients.
Let’s look at how we can do that.
Mulching
Mulching is the act of covering bare soil with dry organic matter. It is absolutely fundamental to the creation and maintenance of a healthy living soil. Bare soil means exposure to sun, drying winds, compaction from rainfall, rapid evaporation and no nutrients being cycled back to feed the microbiology.
By covering the soil with dry leaves, paper, cardboard, dry grasses and weeds (be aware of seeds), we ensure that the soil is protected and that its structure is being improved overtime as organisms break down the material laid on top.
You can’t really have too much mulch. The main thing to be careful of is having the mulch touch the base of the stem of the plant or tree as this can result in ‘crown rot’. Keep all mulch material at least 2 inches from the base of the plant. Then go as high as you like.
Mulch is vital but not everything, there needs to be something in the soil to break it down. We need to encourage the development of the soil food web and all its relationships.
One of the best ways to do this is through composting.
Composting
There are as many methods for composting as there are people doing it.
Even within our own team we practice a range of methods (as evidenced by the lively discussions generated by the writing of this post). The point is not to get confused or overwhelmed by the many approaches and instead just to keep certain fundamentals in mind, get started with the space and materials you have available and keep refining your technique based on your own observations. Do not give up if it doesn’t go exactly as you expected at first, composting is vital to a healthy garden and healthy plants at home.
The purpose of creating compost is to manage your kitchen waste and to create a nutrient rich fertilizer for your plants. If compost is made the right way and left to rest, it can also become humus (read the section What is Humus? below) that can be added in even very small quantities to develop your soil structure, fertility and food web. When we compost, we would like what we put in to break down and change form into something usable. In order for this to happen we need to create the right conditions for aerobic soil organisms to do their jobs.
What are the right conditions for composting?
C:N ratio:
The best way to create a comfortable environment for soil organisms in our compost buckets or heaps is with the right ratio of Carbon to Nitrogen (C:N). You might have heard this mentioned as the ratio of brown to green material. Brown being carbon rich materials such as dry leaves, dry grass, cardboard, shells of nuts and so on. The green being nitrogen rich fresh plant material, manure, and fresh kitchen waste.
Nitrogen is required in the breakdown of carbonaceous material and every cell in plant life needs nitrogen for purposes such as building proteins. The balance needs to be right though, carbon provides structure and ensures aeration, too much nitrogen results in a dense mix with a high bacterial load that can quickly turn anaerobic.
Moisture:
Once you’ve made your mix make sure you make it moist enough to encourage decomposition but not so wet as to inhibit air flow and encourage anaerobic conditions. Take a handful of the mix, squeeze it hard in your hand. Water should appear between your fingers but not run down.
Location:
Place your compost bucket, Kambha or heap in an airy, shady spot away from direct sunlight. Protection from rain is also needed to prevent water logging or the loss of nutrients through runoff. Choose somewhere close to the kitchen as you will be visiting it regularly.
Indoor Composting:
To start of with composting at home, you simply need:
A container with lots of holes
There are various popular options to choose from when it comes to the container - terracotta Kambhas, plastic buckets. thick cardboard boxes also work well. The main thing is to ensure that your container can take the moisture during composting and can keep the mix aerobic - to attract the right kind of shredders and decomposers that create rich soil. Therefore make sure it has a lot of holes to allow aeration.Kitchen waste (‘Greens’)
Any fresh kitchen scraps will do. Cooked food can be added but can quickly go anaerobic and must be monitored carefully.Some dry organic material (‘Browns’)
Dry leaves, dry straw from a local fruit vendor, Cocopeat, saw dust. Cardboard and paper can be used but are already recycled in most cities the other options are preferable.
The more diverse your mix of browns the better.A handful of forest/good soil/existing pot soil
The process:
Put a layer of dry organic matter at the bottom
Collect all your kitchen waste and mix it with ‘brown’ material in the ratio of 1:3 (by volume)
Add a fistful of soil
Mix thoroughly
Everyday, add your ‘greens’ and ‘browns’ and incorporate fully.
When the container is about three quarters full, cover the top with newspaper and allow it to rest for 2 weeks. During this time observe it daily, add water if needed, balance too much moisture with more browns, turn it to allow aeration.
Have 3 containers that can used in rotation - one being fed, one resting or maturing and one for ready compost.

At home use a bucket, a Kambha or simply cardboard box to get started with converting your kitchen scraps to fertile soil.
After 3 days:
If everything’s great!
The mix should be still moist, and when you dig a bit deeper you should be able to feel that it is warm.If the mixture had become anaerobic i.e. smelly and attracting flies
Put in some ash and leave it for 2 days. After 2 days, add a fistful of forest soil/good soil, more dry organic matter and leave it.If the mixture has become dry
Add water, diluted buttermilk or diluted urine (a rich source of nitrogen which is required in the breakdown of carbonaceous materials) to make it moist again.
At the end of 2 weeks:
All the green matter should have decomposed
You should be able to see only decomposing dry leaves amidst the organic matter, these take longer to decompose.
Check that the mixture is smelling earthy and fresh and is moist (not wet). If that is the case, and all green matter is completely broken down, the compost is ready to be used. You can sieve out some of the larger pieces of brown material and use that in your next batch.
To create fine compost leave the container for another 2 months to rest and become a fine humus compost.
Using the compost:
Mix ⅓ soil with ⅔ compost and leave for a day before sowing or transplanting into it. It can also be applied directly into beds (ensure you cover it with mulch to prevent the loss of nutrients and soil life).
(The above method is based upon Clea Chandmal’s Forest Floor Way™ method of composting)
Outdoors – Hot Compost

Keep your compost somewhere accessible but safe from direct sun, wind and rain. This pile will be covered with a temporary roof during the rainy season.
C:N ratio in your heap:
For a good compost heap ideally we want a C:N ratio by volume of 25-30 parts C to one part N by volume to start with and we will end up with a 10:1 ratio. The important thing here is to keep in mind that fresh plant matter also contains carbon and therefore not to overdo it with the brown.
Too much carbon results in a dry heap or one that is dominant in fungi which then keep out the soil-building bacteria we’re trying to encourage. Such heaps take a much longer time to break down and even then, tend to have a more fibrous structure rather than a mineral one.
In fact, if you have enough fresh plant matter, you don’t even need any brown. If you don’t have enough green, use brown and increase the green by adding manure or urine (your own urine will work great).
Different people use different mixes to start their compost piles. Start your compost heap by creating a mix of:
Greens - fresh herbs, grasses, leaves from trees, medicinal plants – wild plants contain a high nutrient load and can be great for the compost, fresh cow manure and/or urine (you own also works great), kitchen scraps
Dry organic matter - (if needed), make sure to balance high carbon materials with high nitrogen ones like manure
Soil - Ideally clayey but any soil will do, just make sure to take out larger stones. Ideally, try to get some soil from under an old tree to inoculate the pile with soil life. Termite soil is also a good source of fine clays and microbiology (they are sensitive to disturbance, though, so try to take it from an old hill or from tunnels that are no longer inhabited).
As with any living system, diversity is helpful. Try to get a mix of greens, a mix of dry leaves and so on.

Don't be mistaken: all organic materials contain both C and N. When labelling organic materials as having a high nitrogen value or a high carbon value, it does not mean the other element is completely absent.
A chart like this is helpful to know how to ensure you have the right proportions. For example, if you’re using cow manure and you want a 25:1 ratio in your compost, then you want something that has a 30:1 ratio. Therefore, straw would work well. So we take equal weights of the two, and we know that (by dividing the sum of the ratios by two) that we have a balanced pile.
- WHAT IS HUMUS? -
Sometimes ‘good soil’ is referred to as humus. In fact, humus is an element of good soils.
Humus is a brown or black material resulting from the decomposition of plant or animal matter under proper conditions. It is the very smallest particle of organic matter. Composed of long molecular chains, it is highly stable and a veritable sponge of water and nutrients. Humus can hold up to 20 times its own volume in water and release it when necessary. Nutrients are also held and released slowly and for easiest uptake by plants and other organisms, root systems and fungi break up these long chains to absorb nutrients in a balanced manner.
Fine clays and small particles of humus attract and hold nutrients and are the most fertile parts of the soil. They are also the ones that are most easily lost, the first things to go through water and wind erosion.
(Source:Hands-On Agronomy by Neil Kinsey)
Temperature:
The reason we want the heap to achieve a certain temperature is to remove pathogens and ensure any unwanted seeds are destroyed. The maximum temperature should not go beyond 55-65°C. If your compost is too hot it is losing a lot of moisture check the middle, if it’s still moist add soil, if it’s dry add water. If the heap is too cold, feed it gradually – ideally with chopped up greens.
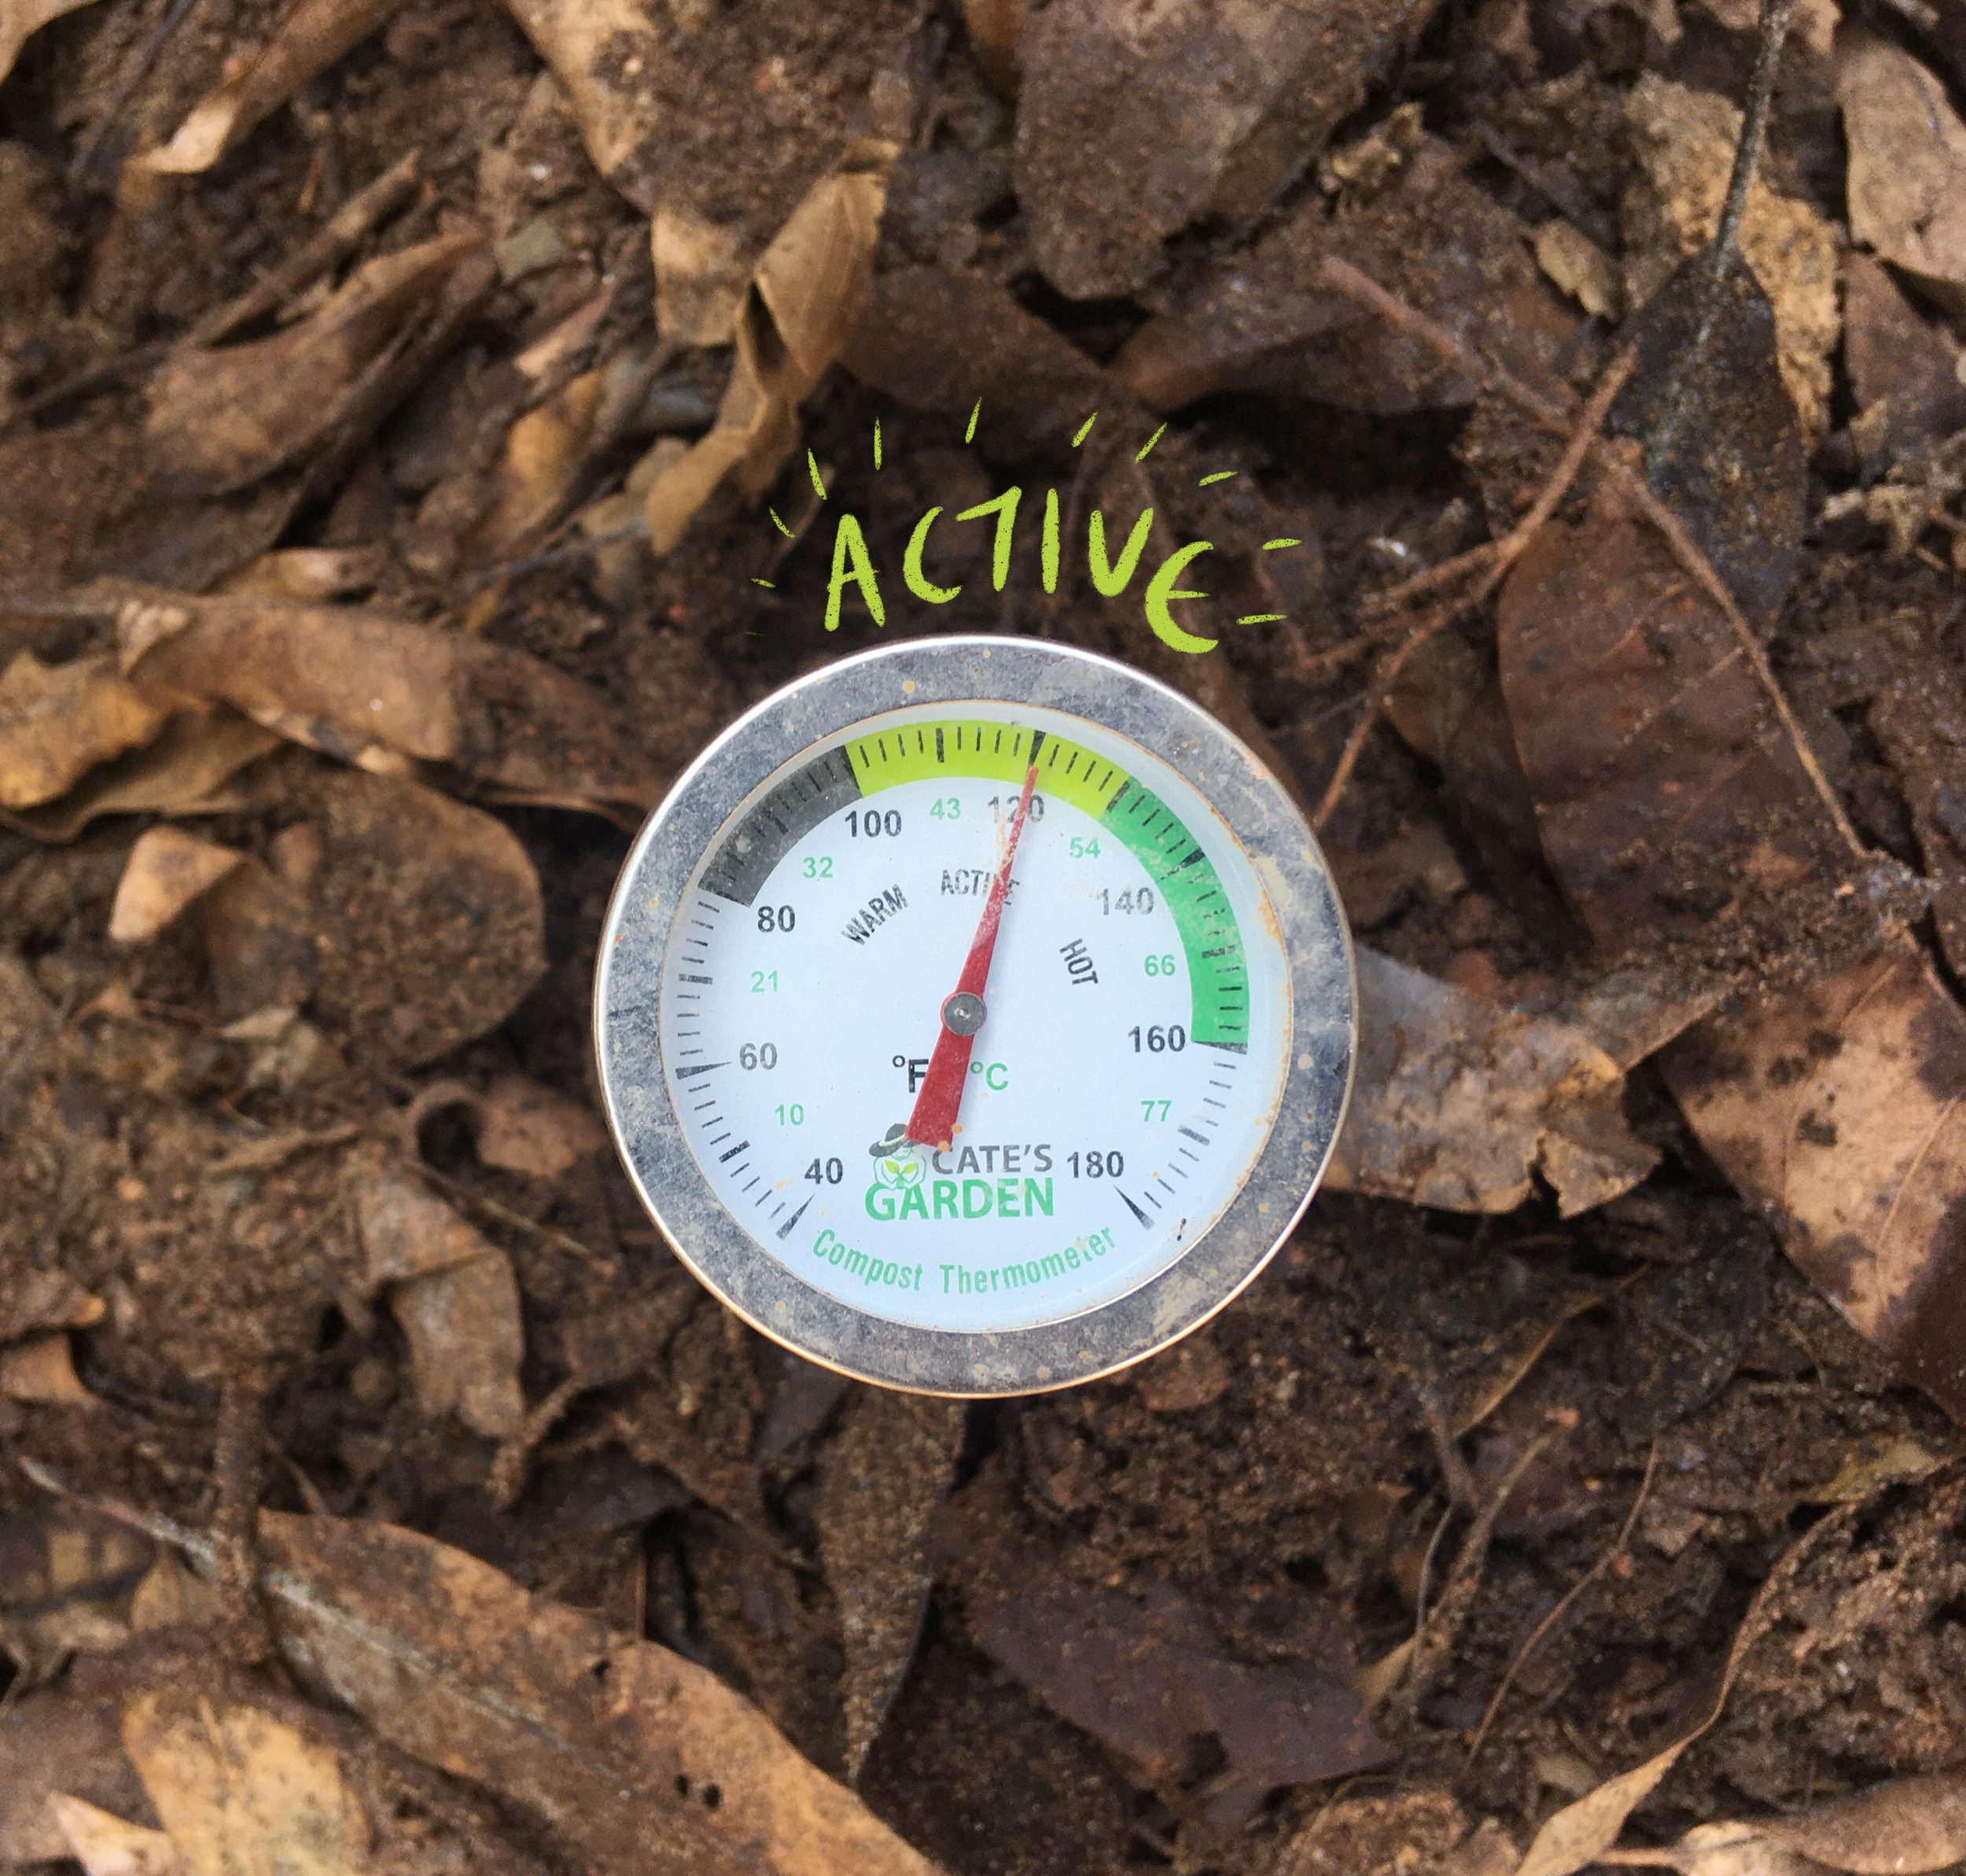
Compost thermometers are useful tools for knowing the exact temperature of your heap.
Shape:
Many people tend to like to make compost in pits. For some purposes (e.g. to decompose large volumes of tree cuttings), and depending on your climate, this can be useful. However, we need to ensure there’s enough oxygen entering the mix otherwise it will go anaerobic and start rotting instead of composting. On the whole we find it is easier to manage a pile.
If you’re making a pile it helps to have it pointed at the top to create a chimney effect and allow fresh air to enter the pile from the bottom as the warm air leaves.
To create the right environment for decomposition, the pile should be at least one cubic meter big.

Turning and Feeding:
Whether or not to turn it is a matter of much debate, however by turning it is easier to ensure all parts are aerated and nothing is getting compacted and turning anaerobic. It also speeds up the process of decomposition. Once you notice the pile is getting warm after setting it up, you can start turning every day or two.
To turn, open up the heap and ensure everything that was outside is inside, everything up now down. Once turned, add your kitchen waste to the middle and build it up into a heap again.

Mix the kitchen waste into the compost before rebuilding the pile so that there is good contact between the new material and the soil organisms. Chewing before swallowing.
How you know it’s ready:
Initially certain species of bacteria and other microbes take things apart down to molecular levels and temperatures increase. Then, they run out of material and the conditions change, the first guys get weaker and other ones who were resting come forward and start putting things together again into long molecular chains. These grow ever longer – resulting in humus.
The longer we let hot (and cold) composts rest, the longer the humus chains become.
Once your heap has been going for a while (or is too big to handle easily) you can sieve it. Use the bigger bits to start the next heap, and let the sieved compost rest for as long as you can. Ensure you keep turning it and maintaining moisture levels. After a month or 6 weeks you can use it in your garden, some can be left for a few months to create a microbe rich and highly stable cold compost.
Indoors - Cold compost:
A cold compost is a smaller system that is not for managing waste but rather for breeding soil microbiology. This can be done in a bucket and is simply a mix of 50% good soil/forest soil/soil from under trees and 50% plant material. The aim is to get a diverse mix of organisms so the soil can be from many different places, keep bringing some back from your travels and adding it in.


Creating a cold compost is a good way of making small amounts of potent stuff.
Once you have your bucket of good soil you want to feed it with plant material. You do this by taking fresh kitchen scraps/leafy greens/grasses/weeds/leaves and putting them in a blender with a little water. Then, using a sieve or a cloth, squeeze the juices out. It helps to leave it a little coarse so that it’s easy to squeeze.
The juices can be diluted (10:1) and used as a fertiliser (phototrophic food, plants love it) in garden beds, the pulp can be fed to the cold compost.

In the beginning only feed again once you get a good, earthy smell. Mix it every day with your hand to keep it aerated.
Once the bucket’s full and it’s hard to mix it easily, let it rest for at least 5 months then add in small quantities to your garden or field. You can have three buckets – one being fed, one resting and one for current use.
At first it make take a couple of weeks for the pulp to break down completely, but as the microbial populations grow decomposition speeds up and happens in days.
You can put in tiny amounts of powdered clay or bentonite, cow manure, activated charcoal or biochar in the cold compost too - charcoal and clay help keep in the moisture better and give a better structure.
You cannot over rest compost, it is extremely stable and lasts years. The only way you can ruin it is by letting it dry out, by exposing it to sunlight or allowing it to go anaerobic.
Unlike your other compost, you need to use only very small quantities of cold compost as it is so densely populated with soil life.
How do you look after your soil? What is your composting method? Do let us know your tips and techniques in the comments below!
We would like to give thanks to our friends and teachers for guiding us on the how’s and why’s of cultivating healthy, living soils: Rico Zook, Clea Chandmal, Narsanna Koppula, Christoff Schneider, Rosie Harding, Peter Fernandes, and Asanga Namal.